

Preparation is Key
If you’re wondering how to arrange wall art in your home or office, FrameStore has a handy guide to help. In just four steps, we can guide you through the entire process and provide some wall art grouping ideas to get you started. Read on to explore tips and ideas on how to arrange pictures on a wall and get started at the FrameStore today!
Arranging your wall art can change a room’s feel. But before you start, consider which room you are focusing on. The room type, size, furniture, and current decor all add to the room’s ambiance. So, how best can you arrange wall art to complement the room?
Type of Room
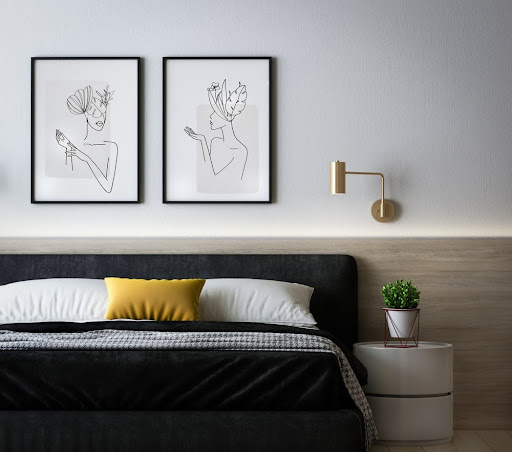
In a living room, a large central piece works well over the sofa or mantelpiece. It can be a singular piece of art or a group of pictures. In a bedroom, have either a single long picture or a pair of pictures arranged over the headboard.
And how should one arrange paintings on a wall with a staircase? The wall along a staircase is a great place to display framed photographs in a diagonal line, or you can create a memory wall in your hallway with beautiful artwork or photographs. Each room can have its own style complemented by framed art.
Size of the Room
How do you account for the size of a room? Use vertical paintings to create the illusion of height in smaller rooms. This helps to make the space look bigger. In medium-sized rooms, use larger images that are about 70% of the size of the furniture (like a sofa or bed).
The best way to arrange pictures on a wall in large rooms is with a conversational hero piece or a gallery wall with even spaces between the images. Arranging can be fun, especially when you plan it perfectly.
Furniture and Decor
Next, consider how to arrange wall art in relation to your existing decor. If the picture is a standalone piece, place it at eye level (around 60 inches from the ground) and center the artwork.
When positioning art above furniture, it should be between two-thirds and three-quarters of the size of the furniture below it. Make sure there is a bit of space (between 5 and 10 inches) between the art and the furniture so it doesn’t look cramped.
Wall Art Grouping Ideas & More
1. Choose a Wall
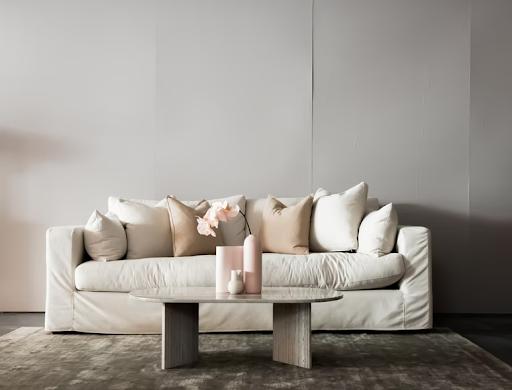
The first step to follow is choosing the space itself. Any wall where you place art will become one of the focal points of the space, so choose carefully. If you’re decorating your office, the wall behind your desk may be the best choice.
How could you arrange pictures on a wall in your bedroom? You might want to place all the art on the opposite wall from the bed so you can see it.
You should also consider the type of wall art you’re arranging. Large-scale pieces should go on walls that have plenty of space. Remember that small pieces will get lost in big areas. Instead, place them between doors and windows or cluster them on a slightly larger wall in a gallery-style design.
2. Count & Measure
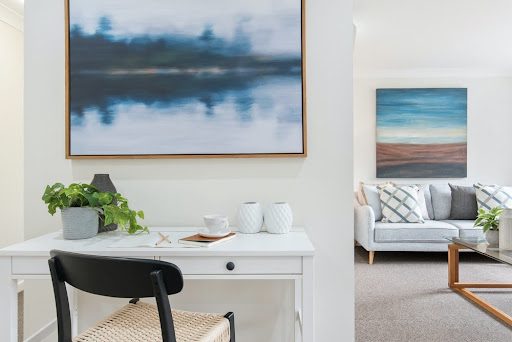
Once you’ve chosen a wall, count the number of pieces you want to hang and measure everything to ensure it fits. We recommend placing your wall art at eye level so that it’s comfortable to view. You don’t want anybody to have to crane their necks or bend over to enjoy your beautiful decor.
You may be wondering about arranging photographs vs. paintings on a wall. If you’re grouping several pieces, like photographs, make sure you have enough space to place them a little bit apart to avoid overcrowding. Arranging wall art is easier with a plan. Spacing and balance are important.
3. Create a Design
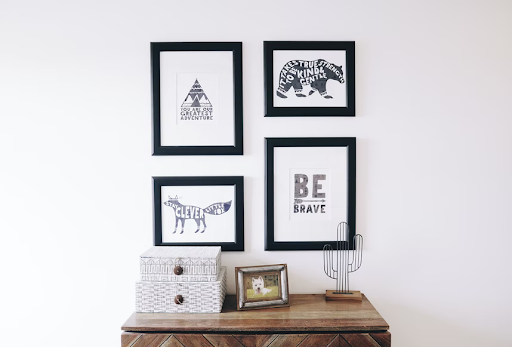
How you arrange the pictures on a wall is the key. You can go either symmetrical or asymmetrical, but you must provide balance, or it won’t be pleasant for anyone to view your art.
Symmetrical
If you prefer symmetrical grouping ideas when arranging wall art, you’ll end up with something orderly and organized. You can create a grid with four, six, or nine pieces or arrange all your pieces in a single row. Your grouping will depend on the overall size of the wall you’ve chosen.
Asymmetrical
Asymmetrical arrangements will create a more eclectic feel for your space, and it’s a great choice for pieces of different sizes, orientations, and styles. When deciding how to arrange the wall art, aim for some continuity within the cluster, like matching frames, a single theme, or set distances between each piece.
Creating Balance
Balance is essential when deciding how to arrange paintings on a wall. It can help to draw an invisible line along the middle of your chosen wall to make sure there’s an equal amount of visual weight on either side. Even if your art pieces are different sizes or different size clusters, you can still maintain balance by ensuring the same amount of space is covered on either side of the centerline.
To arrange wall art, create a focal point by hanging the largest pieces in the center or near the bottom of your cluster. How you arrange the pictures can change a room’s symmetry. Work from the inside out, adding smaller pieces as you go with an occasional medium-sized piece in between.
4. Rearrange Furniture
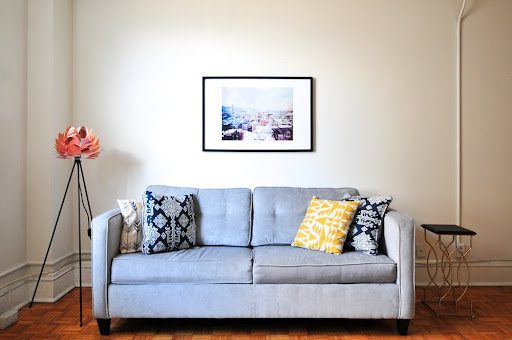
If there’s furniture along the wall where you’re arranging your art, leave enough space between the hanging pieces and the furniture so it doesn’t feel cramped. Whether it’s a console table or a sofa, how you arrange the wall art may mean moving the furniture or centering it on the wall to create a comfortable display.
All Done!
You’ve learned about arranging wall art, and the design element is complete! Now it’s time to implement your ideas and make them a reality. You can always turn to the experts at FrameStore for help getting your pieces framed and mounted.
Visit us at a location near you!